Continuous Integration– Jenkins
Introduction
This is required in any software development life cycle and very useful.
When developers develop code and build new features continuously that needs to tested on regular basis and this can be done by Jenkin tool.
Test cases also developed on daily basis for new features.
This makes developers comfortable with their feature in early stage than getting surprises at later stage.
Important points to remember:
Jenkin configuration mostly done by configuration team.
In companies jenkin configured for periodic build, like in a day 4 times build will run automatically.
In this case complete build in jenkin means,Developer code should compile
Code should be deployed to server
Server start
Running test cases
Generating report
Sending email about status build
Many plugins are available in Jenkins, below are a few plugins which you almost certainly should include. Here are a few — some generic, some specific,
Source Control:
Git, SVN, and Team Foundation Server are some of the more common source control systems. All three of these have plugins in the Jenkins list, and others exist for less common systems as well. If you don’t know what source control is, you should really learn about it and start incorporating it in your projects. Be sure to install the plugin for your source control system, so Jenkins can run builds through it and control tests.
Copy Artifact:
This plugin allows you to copy components between projects, easing the pain of setting up similar projects if you lack a true dependency manager.
Throttle Concurrent Builds:
If you have multiple builds running which might introduce a conflict (due to shared resources, etc), this will easily allow you to alleviate this concern.
Dependency Graph Viewer:
A nifty plugin providing a graphic representation of your project dependencies.
Jenkins Disk Usage:
Jenkins may be fairly lightweight, but the same can’t always be said for the projects with which it integrates. This plugin lets you identify how much of your computing resources any of your jobs are consuming.
Build Tools:
If your project is large, you probably use a build manager, such as Maven or Ant. Jenkins provides plugins for many of these, both to link in their basic functionality and to add control for individual build steps, projection configuration, and many other aspects of your builds.
Reporting:
While Jenkins provides its own reports, you can extend this functionality to many reporting tools.
Steps to configure Jenkins
Step 1> Download the jenkins.war [ approx. 66 MB ] file from https://jenkins.io/
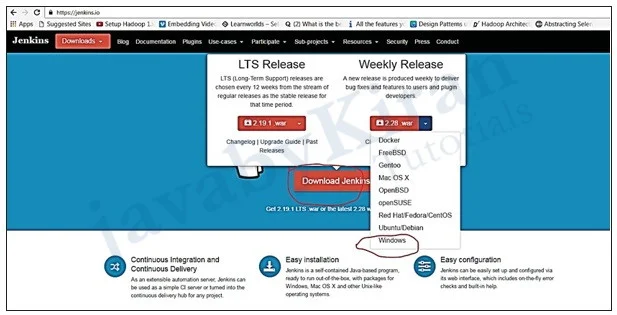
Step 2> From this file you can start Jenkins directly via the command line
Open command prompt write below command.
Go to path in command prompt where your jenkin war is exists.
My war is in D:\Jenkin folder
java -jar jenkins*.war

If this command doesn’t work u have to set path for java on command prompt as below. This is because we have not set java path to set path.
Write on command prompt
Set path= C:\Program Files (x86)\Java\jdk1.7.0_02\binThen fire java -jar jenkins*.war It should start working.
Observe command prompt we will see below:
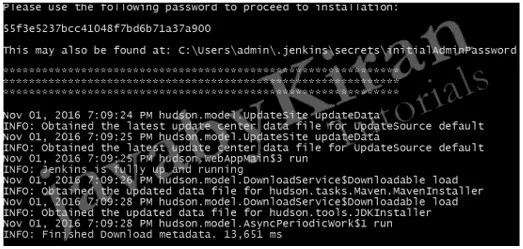
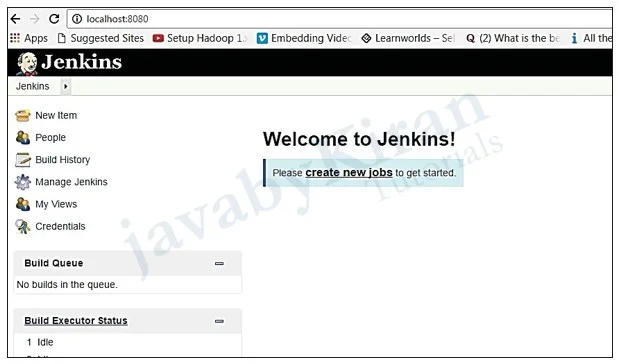
Launch browser. Open Url as http://localhost:8080/
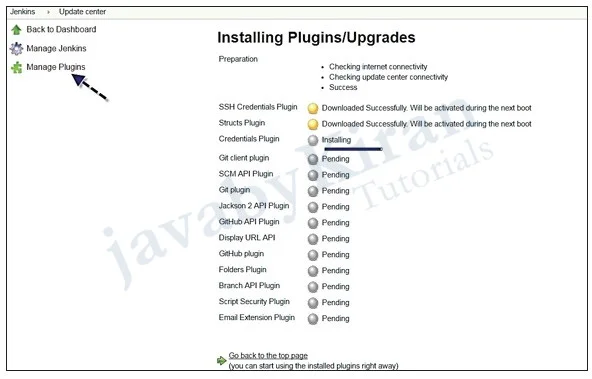
It will ask for password.This will install all plugins automatically. let it install. See below:
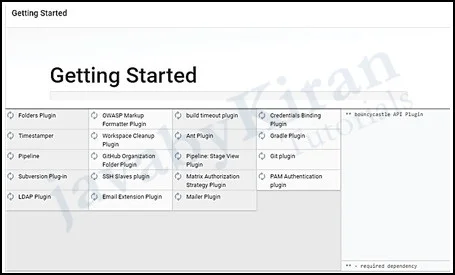
Below screen will appear enter password located in below path:
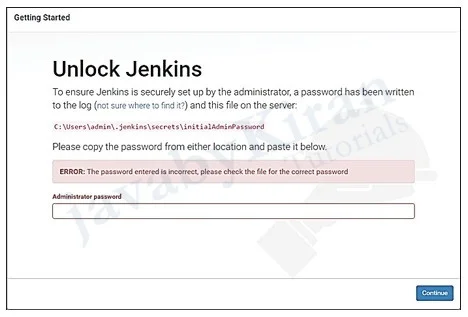
Copy password from below location...
C:\Users\admin\.jenkins\secrets or find this file in my computer
If not you can search as below.
After this create user and continue as a admin
After installation when everything is settled you will see below screen:
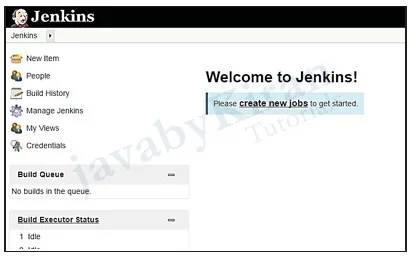
Configuring Project
Jenkin first screen:
Before going ahead we need to add plugin manage jenkin >> manage plugin > search for github.
Restart jenkin from command prompt.
Start configuring our first project:
Select type of project >> Freestyle
After this create user and continue as a admin.
Now in above screen new job is created by system admin screens are as below:

Below is configuration needs to be specified, observe every tab, all have their own meaning and needs to configure as per requirement.
