Apache Tomcat Webserver
Apache Tomcat Server Installation
For apache tomcat you must have eclipse IDE.
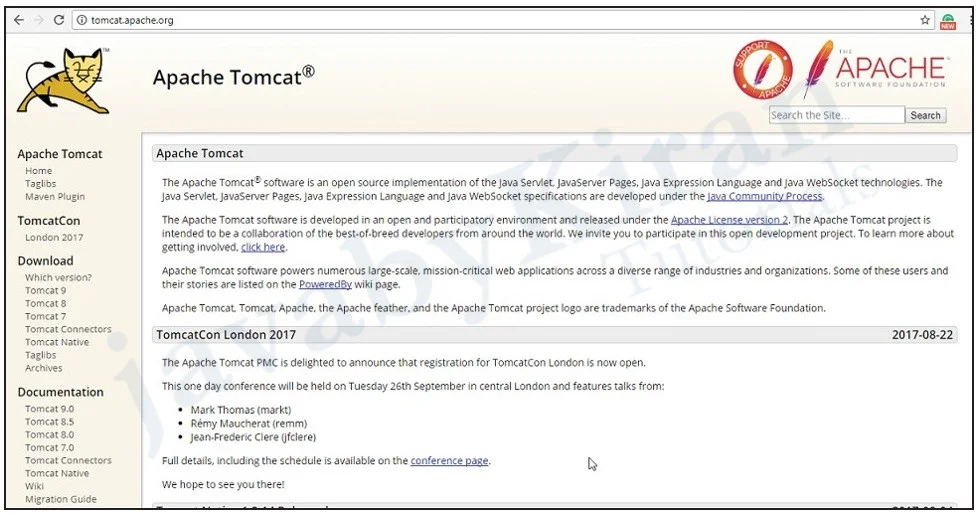
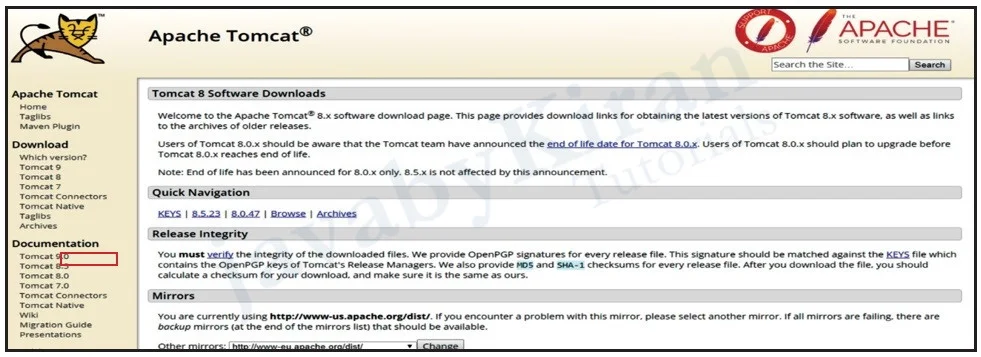
So for this go to official tomcat website.
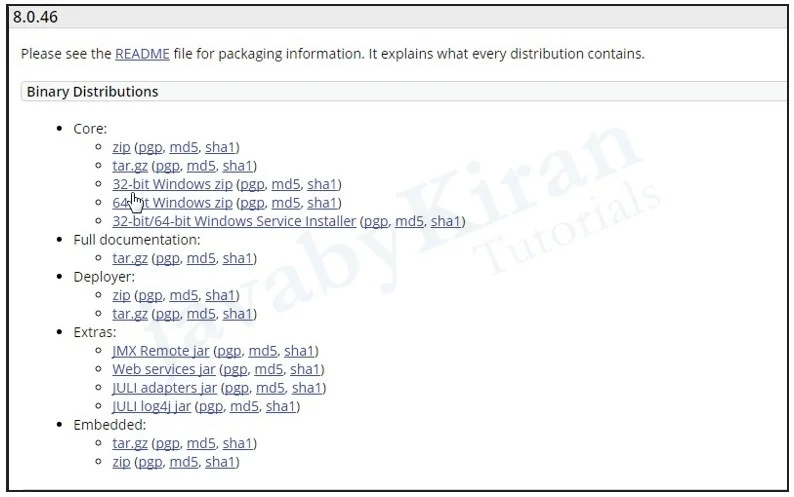
Choose latest version of tomcat i.e. tomcat 8.0
Download windows service installer in core section.
Once the downloading is completed, one can run the executable (.exe) file.
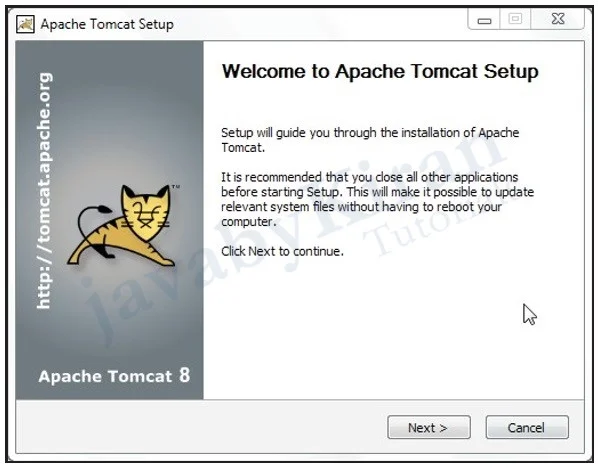
As a result, apache tomcat setup will start wherein click on ‘next’ button.
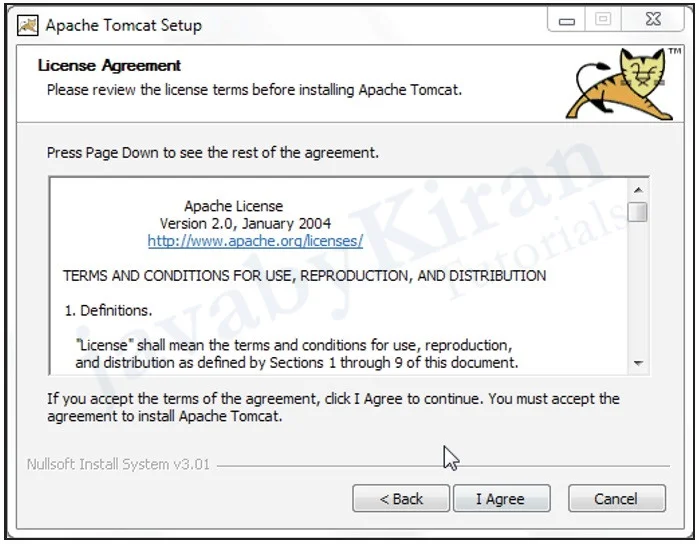
Click I agree to License Agreement.
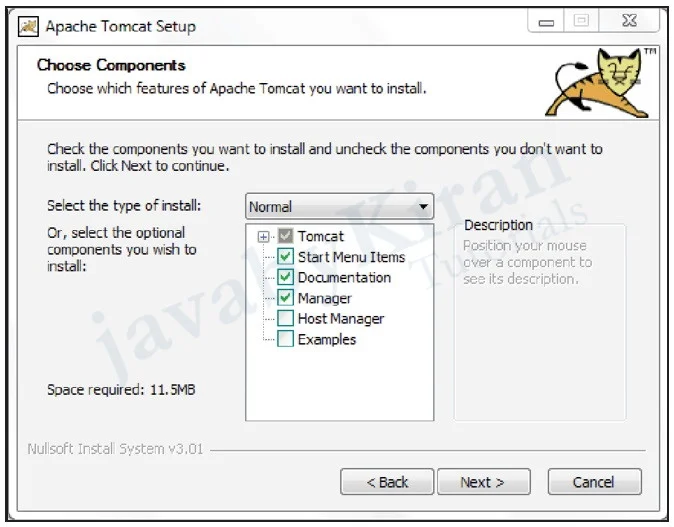
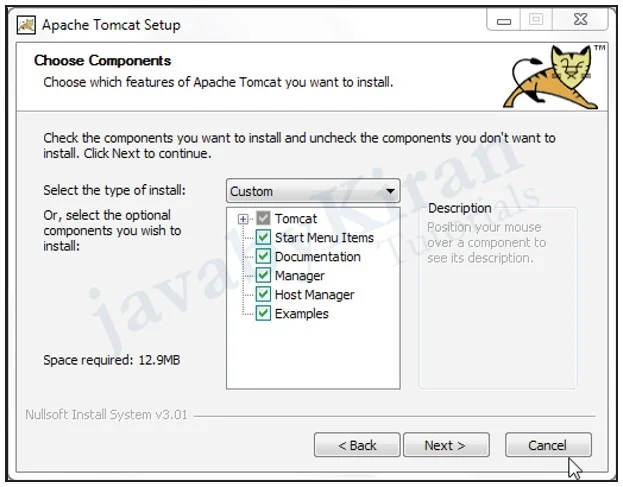
Check all the checkboxes and click on ‘next’ button.
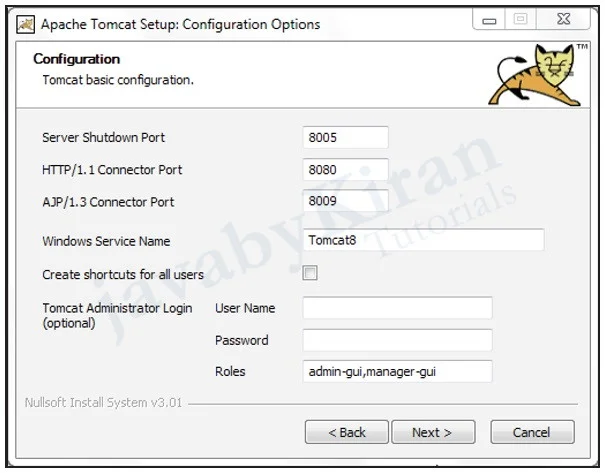
Be sure that the port you are using must be free and then click on ‘next’ button.
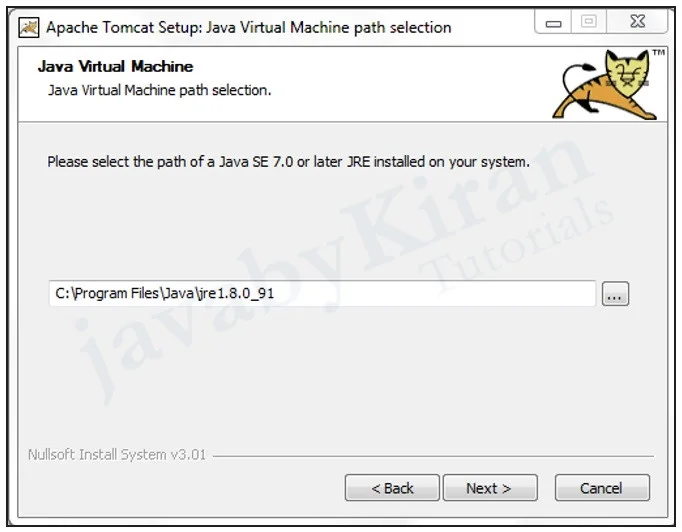
Now choose path for java JRE installer.
Once the path is chosen, click on ‘next’ button.
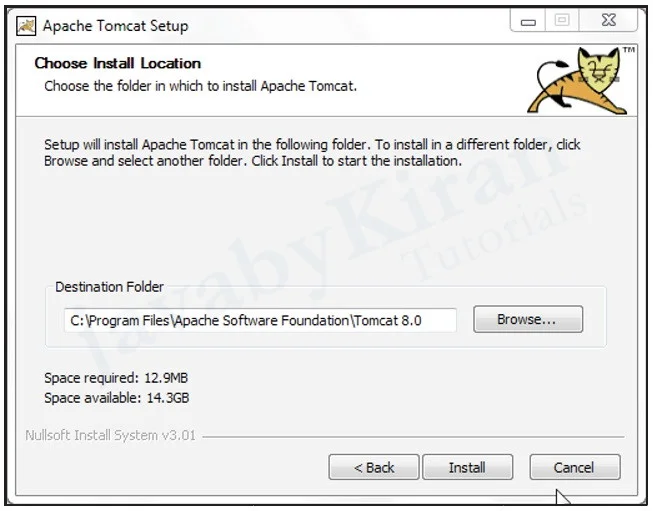
Now click on ‘Install’ button.
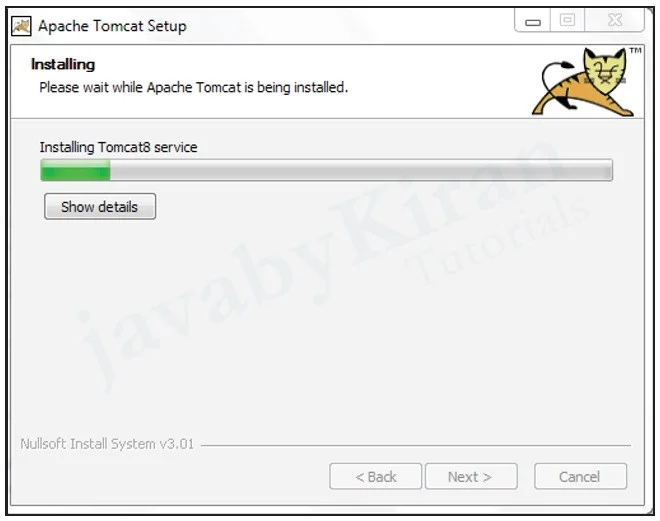
On clicking ‘install’ button, installation of tomcat will start.
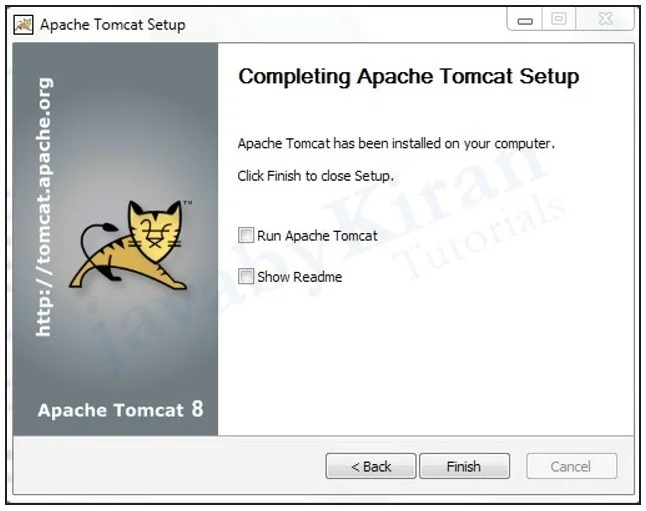
Once Installation of tomcat is completed, uncheck both the boxes and click on ‘finish’ as shown below.
Dynamic WepApp Demo
Start your eclipse IDE.
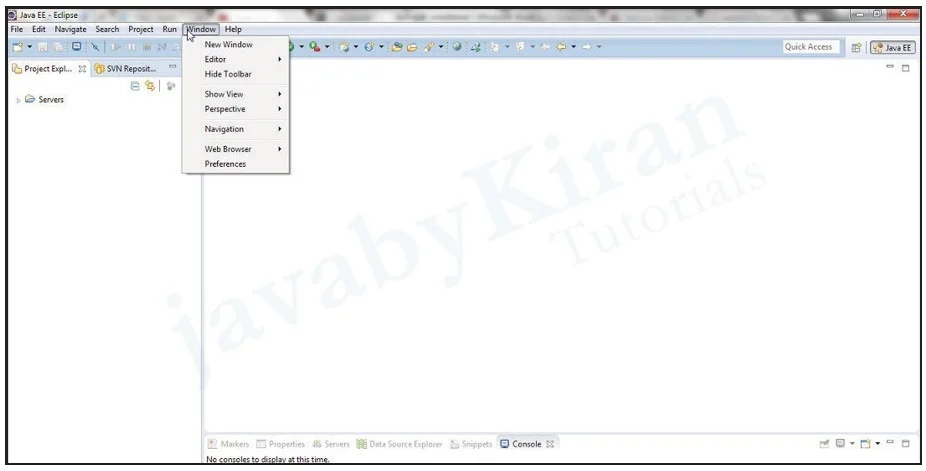
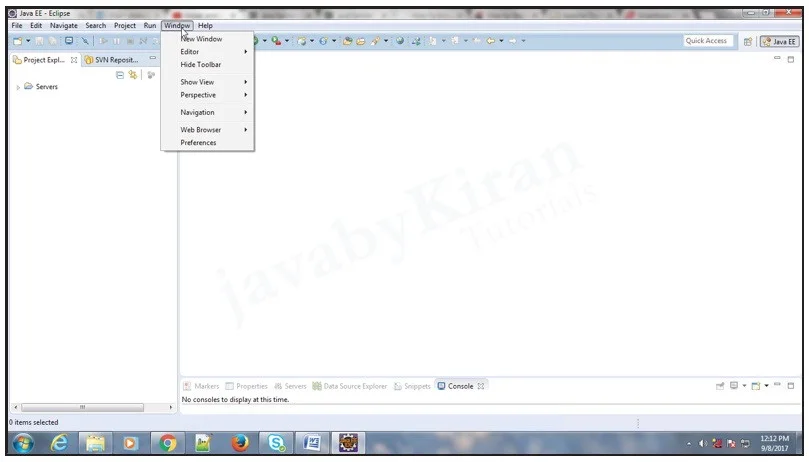
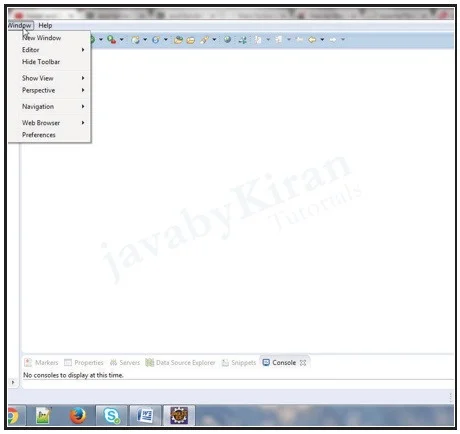
Once eclipse IDE opens go to the ‘window’ tab in the ‘menu’ bar.
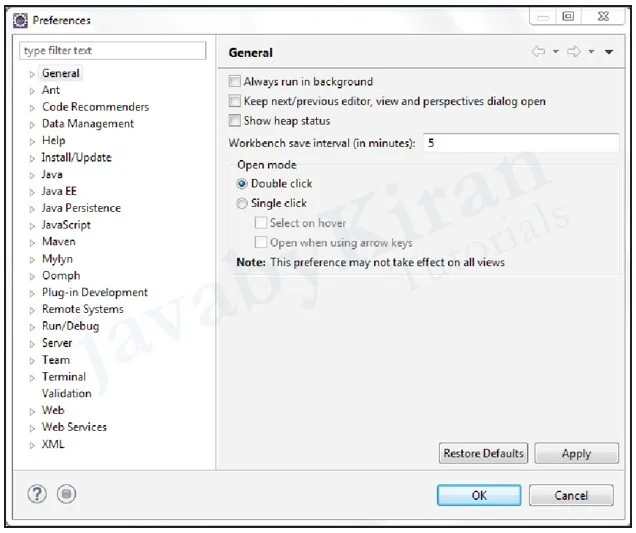
In the ‘window’ tab click on ‘preferences’ section
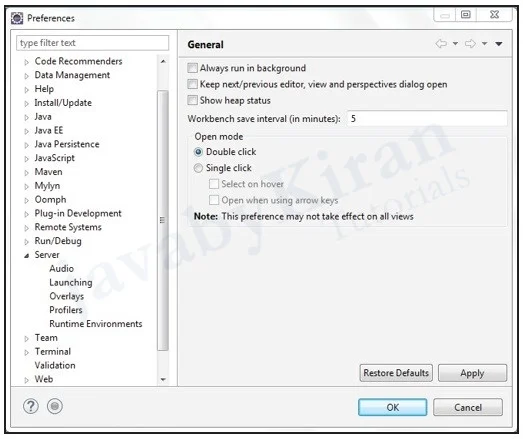
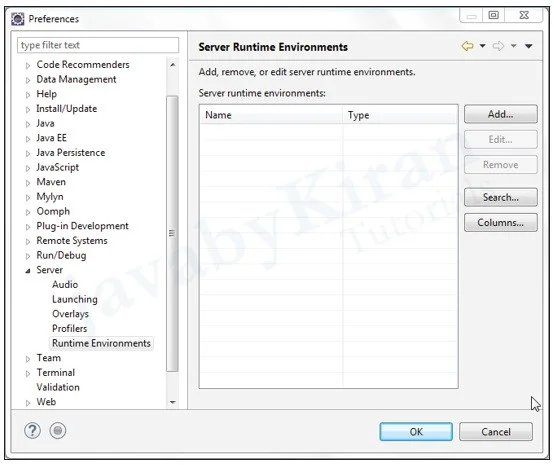
Click on ‘server’ option in ‘preferences’ section as shown in the above image.
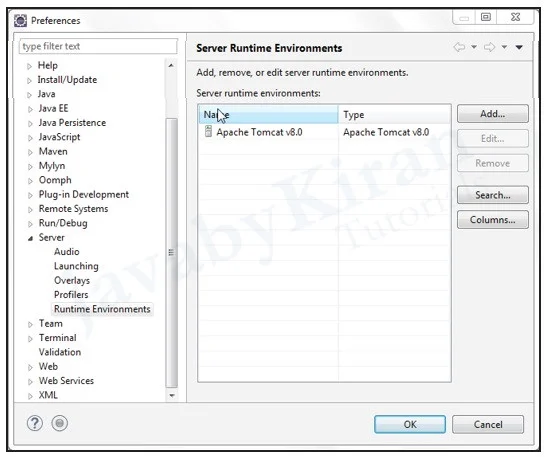
In ‘server’ section go to ‘runtime environment’ a shown below.
Click on ‘add’ button.
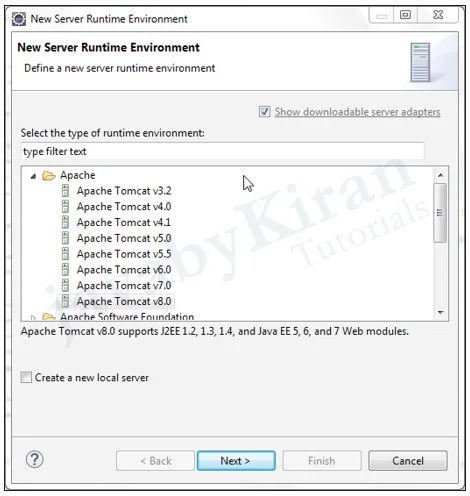
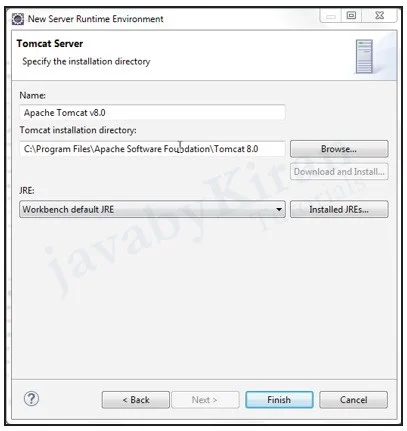
Choose version of tomcat which one wants to download and click on ‘next’ button.
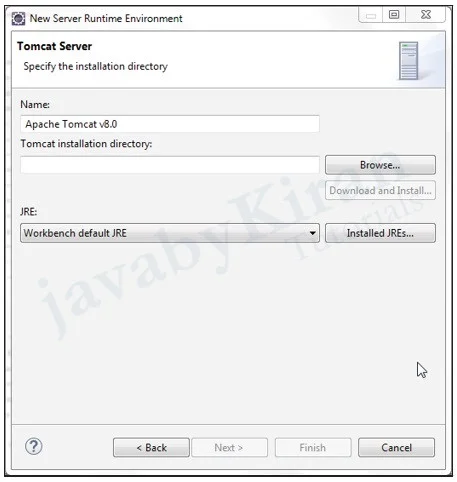
One need to browse path where you want to download the tomcat version.
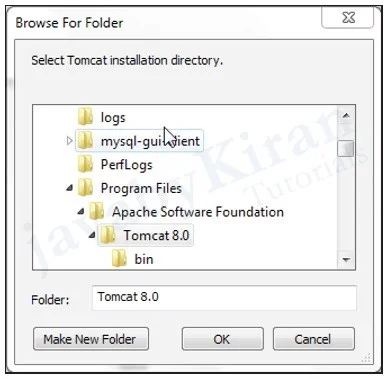
When you browse for tomcat path you need to go C drive->program files->apache software foundation and here you will find tomcat 8.
Once you have chosen the tomcat path click on ‘ok’ and then on ‘finish’.
Now again click on ‘Ok’
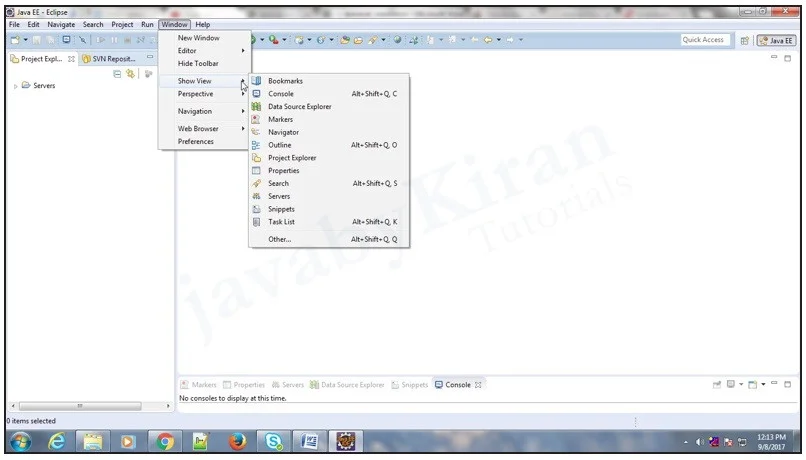
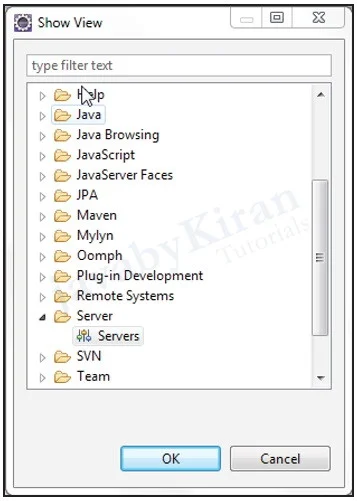
Now tomcat 8 is configured so we need to start the server, for which we need to open server perspective. For this go to ‘window’ tab -> ‘show view’ section and even after this, if it does not show server then go to ‘other’.
Then open new perspective called ‘server’.
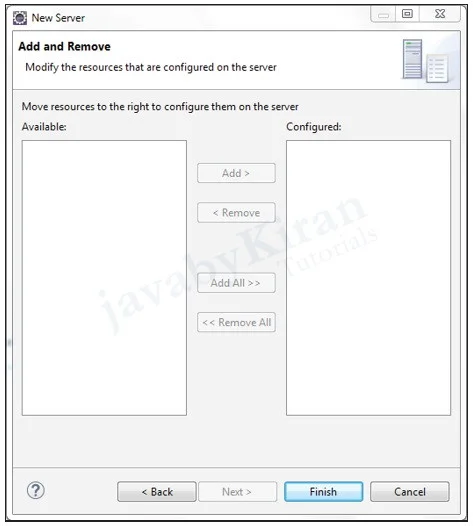
Right-click on the screen and then click new-> server, where a window will open and we will get an option to choose the ‘tomcat version’.
As we have configured tomcat 8, choose tomcat 8 and then click on ‘next’ button.
This will add tomcat server to localhost.
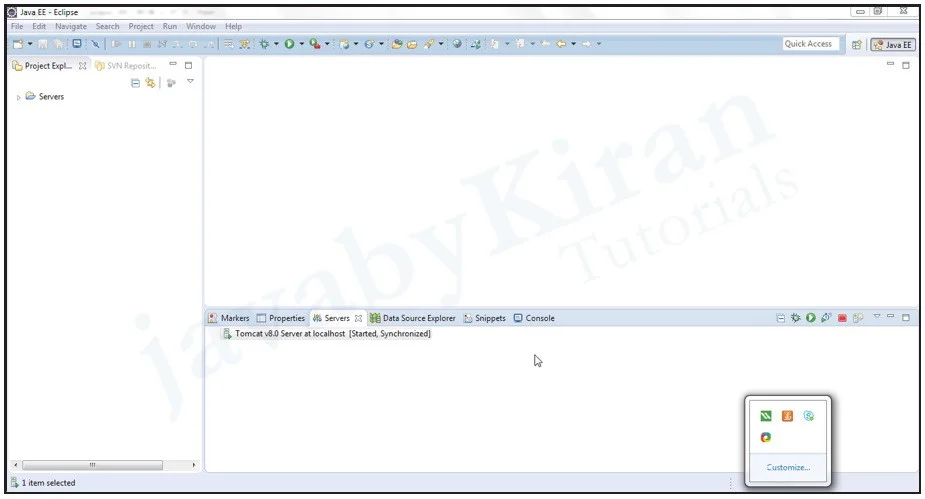
Select the ‘server’ and click on ‘start server’ button which is on right side of console window.
Once we click on ‘start’ button we will be able to see some messages, so we just need to allow those messages and after some moments the server will start and get synchronized.
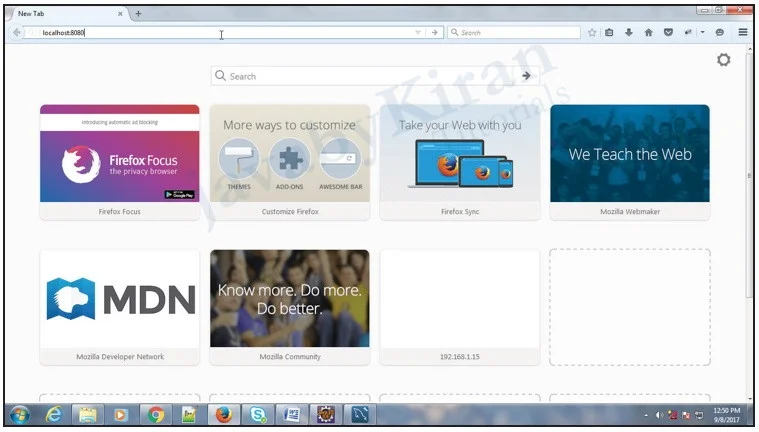
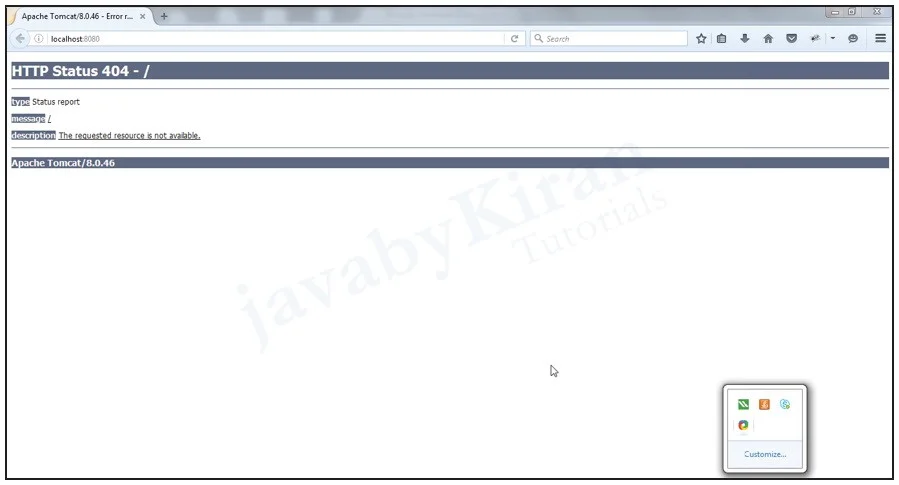
Now open browser and type ‘localhost:8080’ which is the port we have configured and press enter.
We will observe that it throws ‘404 error’.
This URL can also be opened in eclipse IDE.
